Most mobile camera apps these days come with a Night Mode feature that produces detailed photographs at low-light.
While the photos produced by this mode might seem revolutionary, the technique behind it has been around for ages. Shift-and-add is a form of Speckle Imaging that has been used for decades to produce images of the night sky using a large number of short exposures. These days, it's simply called as Image Stacking by the astrophotography community.
Let's understand why this technique is needed. Photographing the night sky is hard. First, there's too little light for your camera. While daytime photographs might produce amazing results with shutter speeds as fast as 1/2000 of a second, photographs of the deep-sky objects like galaxies and nebulae are exposed for several minutes.
This leads to several issues:
Hot pixels - Long exposures and high ISOs, often used to shoot low light photos cause the sensor to heat up. This causes electric charges to leak into the sensor and causes some pixels in the image to appear as bright spots.
Noise - Increasing the ISO leads to an increase in the noise. This is what makes your low light images look grainy. One way to reduce this is to increase the exposure time and let more light hit your sensor.
At this point, you might be wondering - why not just increase the exposure time and reduce the ISO to reduce noise?
This is where other factors come in:
The earth rotates - As a result, you need a tripod that moves in sync with the earth's rotation. Otherwise, stars in the photo start to leave trails. Astrophotographers use tracking mounts(called equatorial mounts) to achieve this. Also, these the trailing effect is more pronounced at longer focal lengths. On mobile phones, it's often sufficient to just handhold them as mobile camera lenses are pretty widefield.
Light Pollution - If you keep your camera exposed for a long time, you'll capture more and more of the artificial light emitted by street lights and the like. This makes it hard to process the data as this artificial light drowns the light from the stars.
This is where stacking comes in. Consider the following image. There's both noise and stars. How do you process(astrophotography parlance for editing) such an image to bring out the details while ignoring or removing the noise?
Try increasing the brightness sliders. You will notice that while the stars(signal) get brighter, so does the noise. The Signal to Noise Ratio(SNR) remains constant.
So, how do we differentiate between stars and noise while processing them? Remember how I mentioned that shot noise is random? Stacking takes advantage of this. Here's a gif made from an image set that we will use from now on. Notice how the noise is random.
Let's try and do a pixel-level analysis of this image. For the sake of this example, let's take the letter N from the Nutrition Information to be perfect black. If there were no noise at all, the pixel value(let's call this P) for this might be (0, 0, 0, 1). This is the rgba representation for the color black where r is red, g is green, b is blue and a is alpha(transparency). In a perfectly normal world with no noise, this particular pixel will always have (0, 0, 0, 1) as its pixel value. However, when noise is present, the pixel's value could be something like (100, 200, 100, 1), (100, 200, 100, 1), etc.
Image noise is usually a Gaussian distribution. What that means is that, if you plot the noise values on a graph, you will get a curve like this.
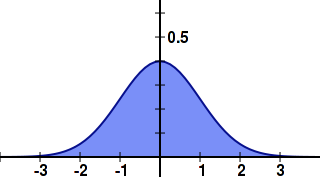
You might recollect from high school statistics that the mean, median, and mode are all equal and located at the center of the distribution. If we take multiple photos and plot the values for the pixel P, we will get a similar graph. If we just find their average value, we should be eliminating noise! If this is confusing, think of it this way. The center point(0) is the actual signal value. Noise can be -1, +1.2, +1, -1.1, +1.1. When you average these, you will get (-1 + 1.2 + 1 - 1.1 + 1.1) / 5 = 0.24 which is very close to 0, the actual value of the signal. The more values you average, the closer you get to the real signal.
The algorithm might look something like this for photographs.
  image1: width 100, height 100
  image2: width 100, height 100
  outputImage: width 100, height 100

  w: represents width(ranges from 0 to 99)
  h: represents height(ranges from 0 to 99)

  pixelsInImage1: getPixels(w, h, image1);

  /** pixels are of the form (r, g, b, a) */
  /** we can ignore `a` for now */
  for pixel in pixelsInImage1.length
      outputImage[pixel][r] = average(image1[pixel][r], image2[pixel][r])
      outputImage[pixel][g] = average(image1[pixel][g], image2[pixel][g])
      outputImage[pixel][b] = average(image1[pixel][b], image2[pixel][b])
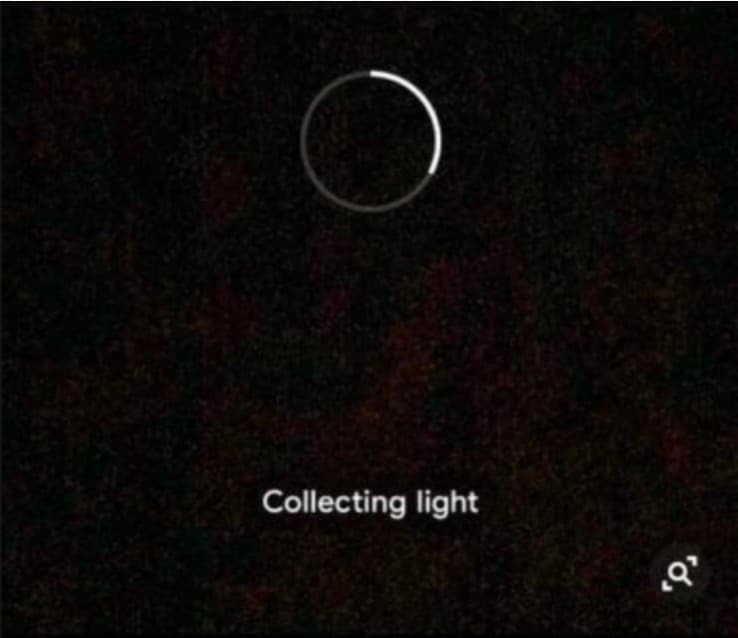
Let's see what the output is like using this algorithm on 10 noisy images taken at low light.
Note: The processing is purposefully slowed down to let readers notice what is happening.
Interested in seeing the code?
async function drawToCanvas(canvas, postMessage) {
  context = canvas.getContext('2d');

  let newWidth = context.canvas.width;
  let newHeight = context.canvas.height;
  let oldWidth = 1000;
  let oldHeight = 1000;
  context.scale(newWidth / oldWidth, newHeight / oldHeight);

  let response = await fetch('/static/images/night-mode/examples/1.jpg');
  let fileBlob = await response.blob();
  let bitmap = await createImageBitmap(fileBlob);

  context.drawImage(bitmap, 0, 0);

  let pixels = context.getImageData(0, 0, context.canvas.width, context.canvas.height);
  let originalPixels = context.getImageData(0, 0, context.canvas.width, context.canvas.height);

  for (let n = 2; n <= 10; n++) {
    let response = await fetch(`/static/images/night-mode/examples/${n}.jpg`);
    let fileBlob = response.blob();

    let promises = [fileBlob, sleep(1000)];
    let [image] = await Promise.all(promises);

    let bitmap = await createImageBitmap(image);
    context.drawImage(bitmap, 0, 0);

    let newPixels = context.getImageData(0, 0, context.canvas.width, context.canvas.height);
    for (let i = 0; i < newPixels.data.length; i++) {
      /** slightly complicated average calculation as we are showing a live preview */
      pixels.data[i] = ((pixels.data[i]*(n - 1)) + newPixels.data[i])/((n - 1) + 1)
    }

    context.putImageData(pixels, 0, 0);
  }
}
Notice how stacking has revealed the fine details on my table that were not at all recognizable before. You can also see that the text is now easier to read. You might also feel that the image appears a bit softer than normal. Well, this is where other factors come into play.
Your phone is not just stacking images when you see this screen. Unless the phone was properly mounted on a tripod, it would have moved because of unsteady hands or winds. When you average these photos that have movement, you will end up with a soft/blurry looking photo. How do you solve this?
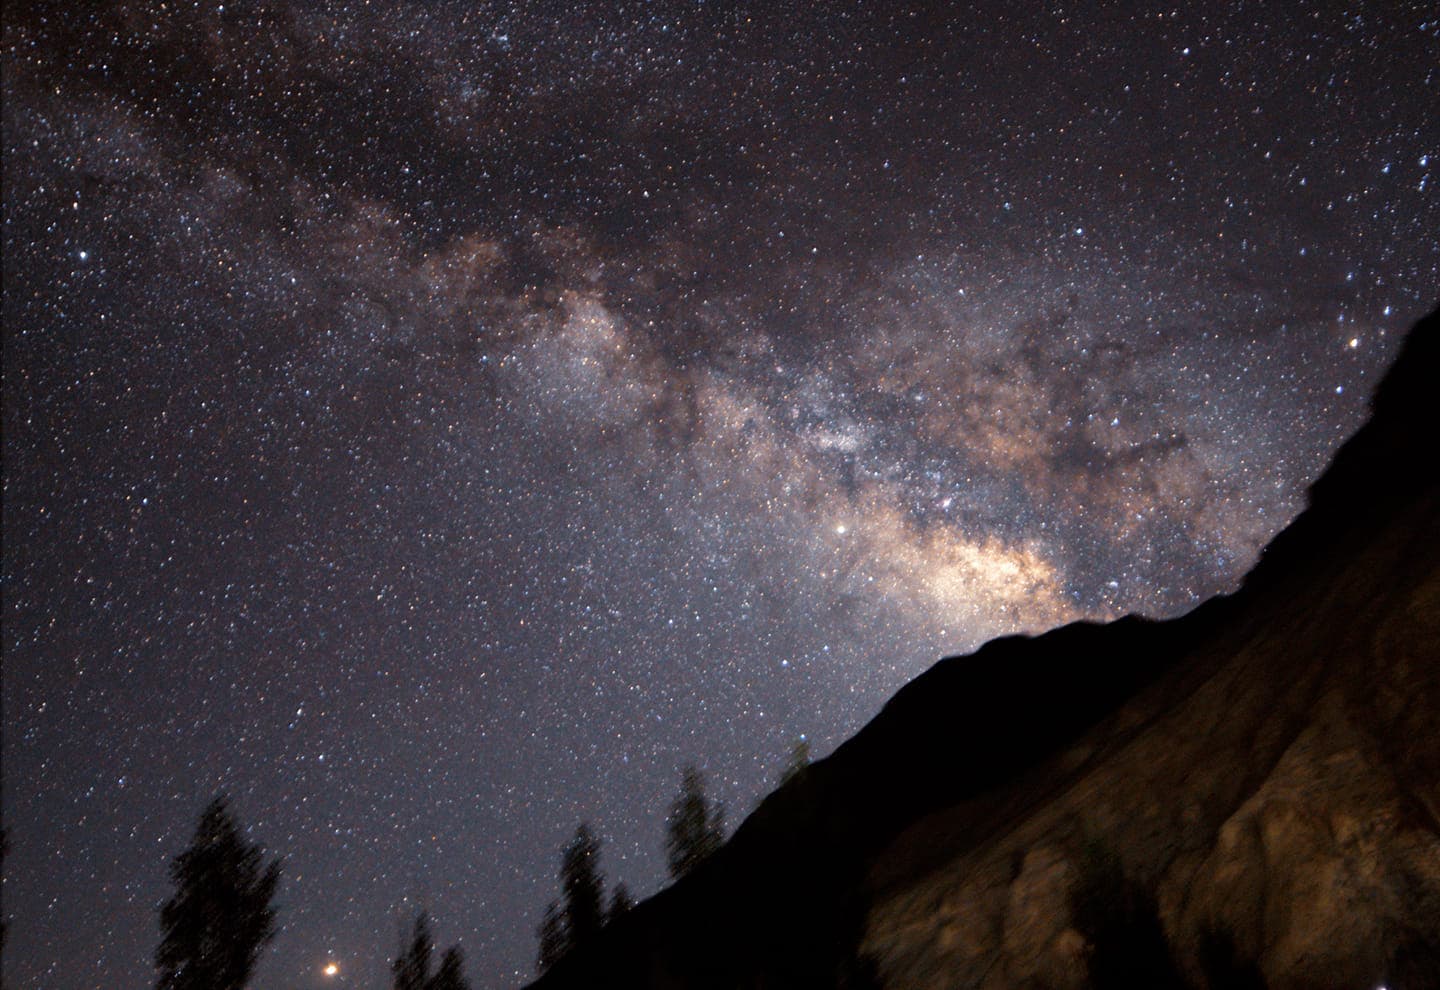
The answer to this is registration. Before the images are stacked, a few objects are chosen in the image. Using math, the transformation between subsequent images is determined. Later, this transformation is applied to the images and stacking is carried out on these preprocessed images. This is a lot more complicated so I'll keep it for another blog post in the future. Until then, here's an image of the milky way that was produced by stacking multiple noisy images.